I enjoy all aspects of bonsai but, normally what we see on the internet is mainly conifers re-made, styled, made to look nice, etc. This post is hopefully something a little different than most and I hope can show what can be done growing native tree’s in their native environment in a relatively short time.
I have found that although perhaps deciduous can be a little generic to look at and thus sometimes considered a little boring, making deciduous tree’s is the most satisfying work in bonsai.
I purchased a shohin trident maple from a nursery whilst at an auction in the summer of 2015. The tree was already had a good image but, it had spindly branches. They hadn’t been grown out to get thicker and it had a good leaf character thus slower to put girth on. The negative point when developing higher quality trident maple’s is it takes four times the time to make the same tree. In the end though the possible ramification is way higher quality thank normal trident’s.
I decided to change the front slightly and remove a branch. This was the tree after a year of growth.


The position that I removed a branch was in the front right here.

As you can see the scar had almost completely healed at this point. Instead of throwing the branch away I decided to strike a cutting.
The cutting did in fact take and I re-ported it at the same time I was re-potting this tree. As doing so I saw that I had done well and had plenty of strong long roots. Seeing this I thought it had good potential to make a root over rock. I then scoured around looking for a decent rock to use.
A standard here in Japan for root over rock style is to tie the tree with wire. I’ve seen them with all kinds of wire but, I decided to use aluminum and use rubber tubing. Most often especially with bigger tree’s the wire is left to bite and be swallowed inside the roots. I wanted to avoid this and this is why I used rubber. It wouldn’t stop it biting but, it should be enough so that it wouldn’t be swallowed completely as long as it was kept an eye on.

One initial tie to hold it in place


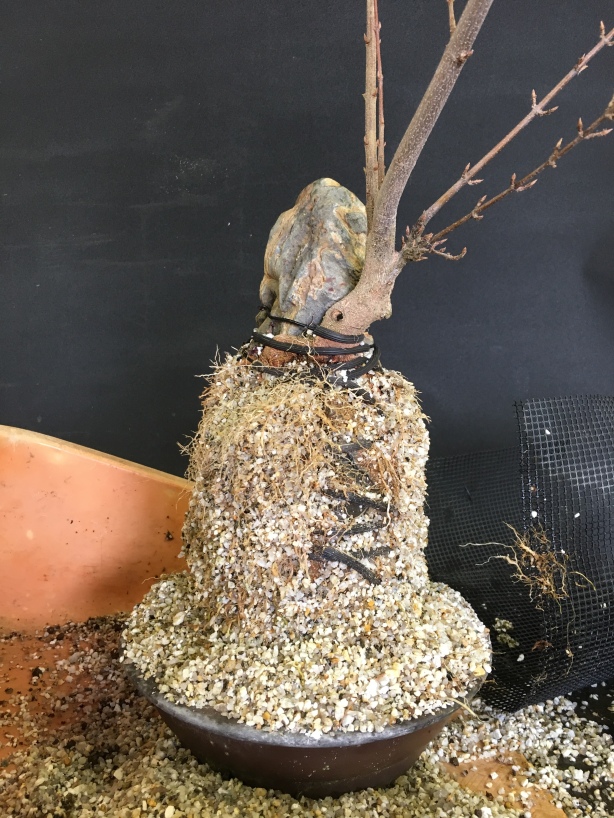
The tree was then planted in normal deciduous mix, plastic mesh tied around and filled with river sand. I decided to use river sand as I thought it would encourage the roots to grow faster searching for moisture. It did in fact work but, I would like to try using akadama one day as the do in field growing. I think would be slower but perhaps the root formation, with selection would be more aesthetically pleasing. My feeling is sand created straighter not so interesting roots.
Moving on a growing season later (March 2017), with nothing done but, general care and left to grow freely. This was the result.


For the next stage I removed the plastic mesh, washed off the sand and cut the wire.


I then made root selection and removed unwanted fine roots.
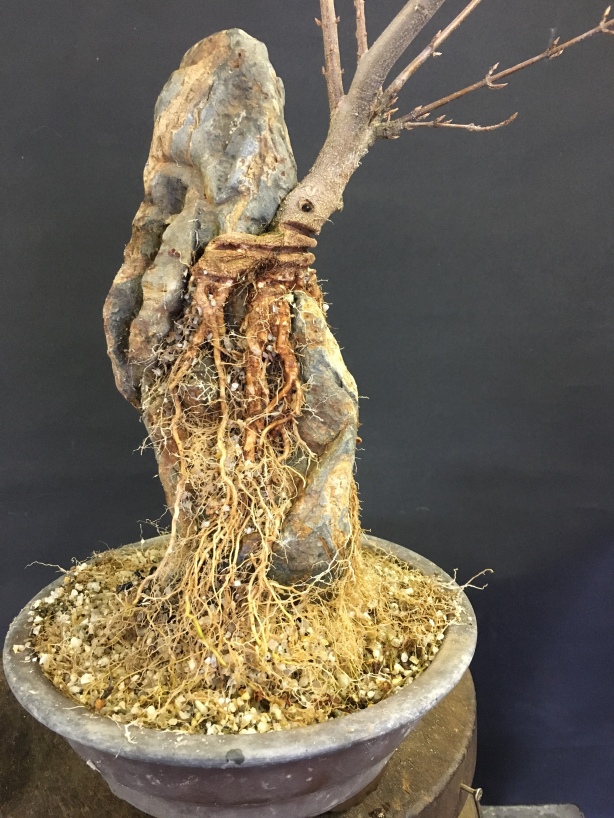

As you can see the wire did bite in to the tree quite hard but, this will disappear and grow out, in a relatively short time.

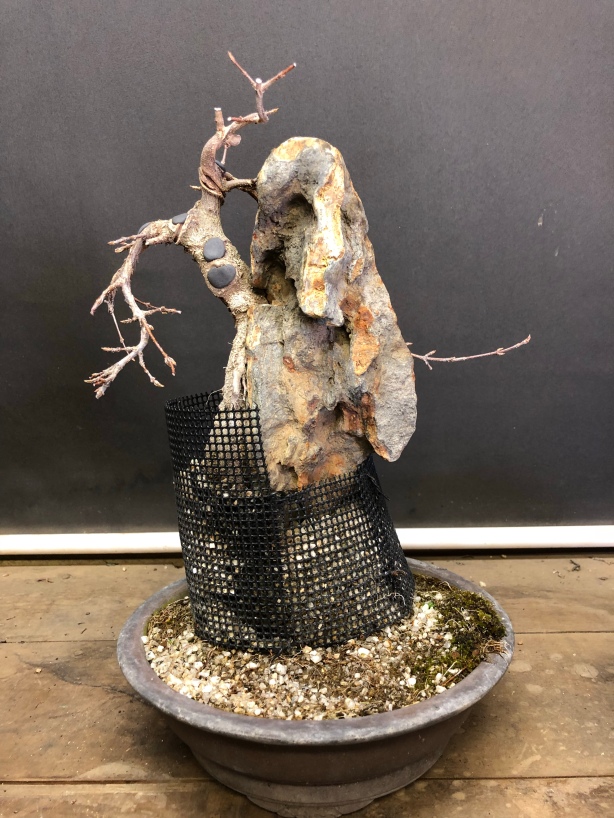
It had developed nicely but the bottom third of the root’s were too young to be exposed so I retied them and replaced that section with using the same technique as before.


I felt at this stage the tree had thickened sufficiently and the sacrificial top could be cut hard and start to make some structure with what was useful.


Here I didn’t cut back to the first pair of buds because the tree wasn’t re-potted. This is to control the next push of growth. If the tree was to push very hard the internode distance may well be too great and rent it useless. By leaving some extra potential sacrificial bud’s we can control the next flush of growth.
During the summer I did a little structural wiring and in November (same year) this is the progress it had made.

I removed leaves, wire and cut back the structure.


The left hand side of the tree was developing nicely but, the direction of the tree was going to flow right so I needed to work on the right side and form a main branch. The plan is have the main branch come from the back and swing to the front cascading down.
Getting the tree back in the workshop next spring (March 2018) it was time to remove the remaining mesh to see how the roots had developed on the lower part.


After the same technique used the exposed roots where then finished enough to leave them exposed. From then on it is just a case of building more branch structure and then ramification.
Nearly a year and an half on in August 2019, with growing, wiring, cutting and defoliation this is how the tree looked.


The trees roots had hardened off well and it was starting to look a little more like a tree.

This was the Autumnal colors at the end of the year. For the future I think I will cut back the main branch maybe a third to create more taper and better structure but, for the most part I will defoliate and grow slowly. The tree has a long time before it will be close to it’s finished image but, I’m pleased with its progress and look forward to seeing it develop in the future although I know it will be slow. Thanks for reading.

Patience and application of technique
Amazing results
Excellent narrative John
It’s a privilege to share it !
This is a brilliant photo documentary, John. Thanks for sharing. I’m hoping to try a Trident RoR this year so will follow your guidance. Thanks again, Andy
Very good illustrated documentation on the Trident Maple technique used to grow over rock.
Keep up the good work John.
Brilliant setof progressive photos and detailed text. The end result must have been very satisfying for you.